
Are you a beginner crocheter that is looking for easy winter hats or beanies to crochet? If so, this post has a beginner-friendly crochet hat that you can make and learn how to crochet a hat easy with.
Not only that, these beanies use basic stitches which means they work up fast, but it also makes them the perfect hat for new crocheters to make.
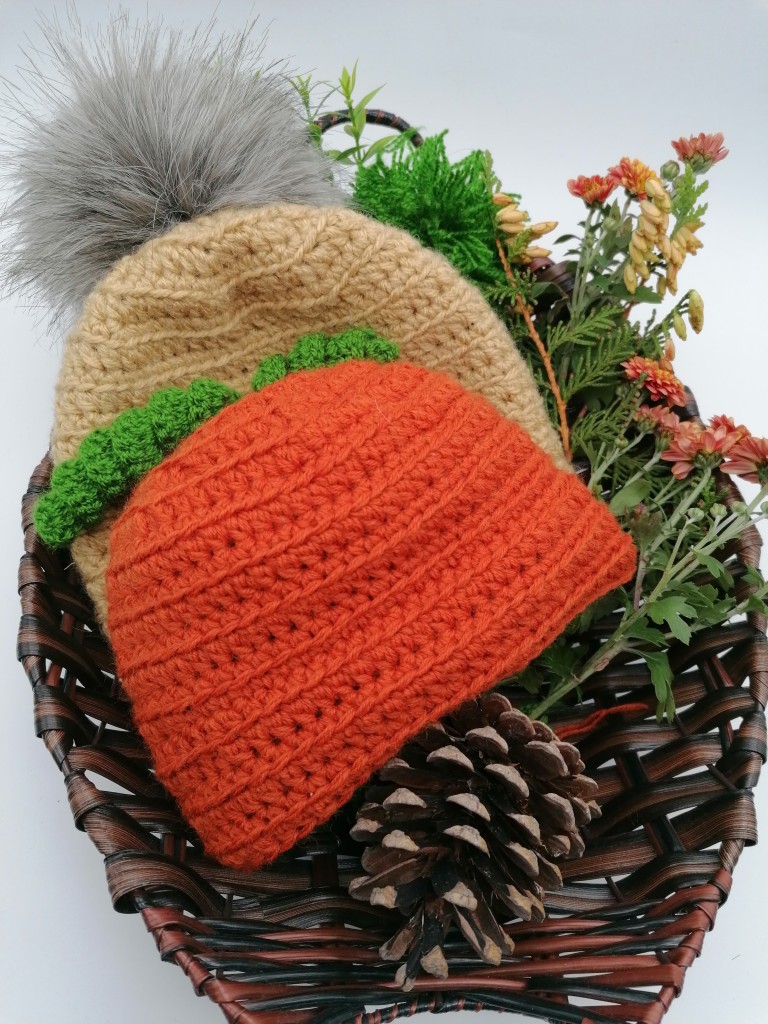
This free pattern is both designed for autumn season and for winter weather and it is suitable for beginners and experienced crocheters.
This beanie works up pretty fast and the pattern is easy to understand.
How to Measure
Are you giving a crochet hat or beanie as a gift? You’ll need to know what size to make before you start crocheting.
If at all possible, it’s best to measure the circumference of the intended recipient’s head. Then, you can reference the pattern to figure out what size to make.
Depending on your preference, you may be able to adjust the length or “slouchiness” of your beanie.
Scroll on down to learn how to crochet a hat that doesn’t include changing colors and much more!
Find the free crochet pattern instructions bellow, or purchase a print-optimized ads-free PDF by clicking HERE.
I love designing patterns that look more complex than they actually are. For example my Alpin Crochet Hat is seamless crochet hat which has a down to top construction using one colour, so no yarn switching and tangling! It comes in sizes from preemie crochet hat to large adult.
Skill level to make this fall crochet beanie pattern : easy
Abbreviations used in this pattern
Approx = Approximately
Beg = Beginning
Ch = Chain(s)
Hdc = Half double crochet
Dc = Double crochet
Rnd(s) = Round(s)
Sc = Single crochet
Sl st = Slip stitch
St(s) = Stitch(es)
Blo =Back loop only
Notes:
Hat is worked in rounds joined beg at the top.
• Chains at beg of round does not count as st.
• The instructions are written for smallest size. If changes are necessary for larger sizes the instructions will be written thus ( ). Numbers for each size are shown in the same color throughout the pattern. When only one number is given in black, it applies to all sizes.
Fall Blush Beanie Crochet Pattern
Skill level: easy
Abbreviations
Approx = Approximately
Beg = Beginning
Ch = Chain(s)
Hdc = Half double crochet
Dc = Double crochet
Rnd(s) = Round(s)
Sc = Single crochet
Sl st = Slip stitch
St(s) = Stitch(es)
Blo =Back loop only
Notes to learn more about this beanie pattern:
• Hat is worked in rounds joined beg at the top.
• Chains at beg of round does not count as st.
• The instructions for this crochet beanie pattern are written for smallest size. If changes are necessary for larger sizes the instructions will be written thus ( ). Numbers for each size are shown in the same color throughout the pattern. When only one number is given in black, it applies to all sizes.
Measurements for the fall beanie-hat pattern
Child’s hat 18”[45cm] circumference and 7.5 [18cm] tall
Adult’s hat: Approx 20″ [51 cm] circumference and 9″ [23 cm] tall
Adult large’s hat: Approx 24″ [61 cm] circumference and 10″ [25cm] tall
Gauge
12hdc and 12 alternating hdc and sc rows = 4″ [10 cm]
MATERIALS
For this hat pattern you will need:
- Wool Ease Solids, Heathers & Twists, from Lion Brand
- the pattern used between 170 and 200 yards of yarn without the pompom
- 5 mm crochet hook size or size needed to obtain gauge
- scissors
- yarn needle.
Special stitches: Half double crochet back loop only instructions (hdc blo)
Yarn over and insert hook into next stitch going through the center of the top of the stitch and through the back loop. Catch the yarn and pull it back through the three loops on your hook.
Beanie pattern for child’s size 18”[45cm] circumference and 7.5 [18cm] tall
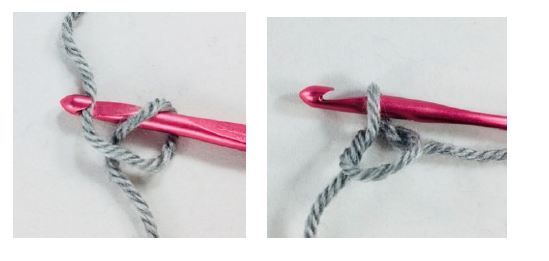
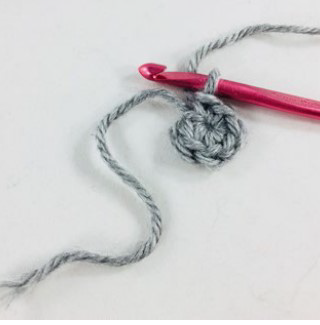
Make an adjustable ring, as follows: Wrap yarn into a ring, ensuring that the tail falls behind the working yarn. Grip ring and tail between middle finger and thumb.

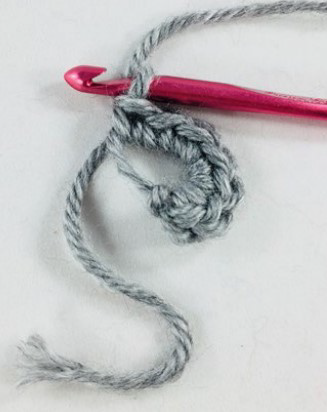
Insert hook through center of ring, yarn over (with working yarn) and draw up a loop. Work stitches of first rnd in the ring. After the first rnd of stitches is worked, pull gently on tail to tighten ring.
1st rnd: Chain 1 (Ch 1). 7 single crochet (sc) in ring. Join with slip stitch (sl st) in first sc. You will have 7 sc in this rnd.
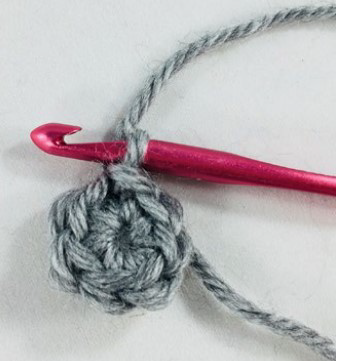
2nd rnd: Ch 1. 2 half double crochet (hdc) in the same sp as joining sl st. 2 hdc in each of next 6 sc. Join with sl st in first hdc. 14hdc.
3rd rnd: Ch 1. 2 sc in same sp as joining sl st. 1 sc in next st. (2 sc in next st. 1 sc in next st) 6 times. Join with sl st in first sc. 21 sc.
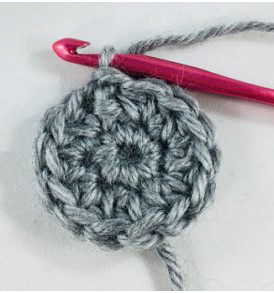
4th rnd: Ch 1. Hdc blo in same sp as joining sl st. 1 hdc blo in each of next 2 sts. (2 hdc blo in next st. 1 hdc blo in each of next 2 sts) 6 times. Join with sl st in first hdc. 28 hdc blo
5th rnd: Ch 2. 2 sc in same sp as joining sl st. 1 sc in each of next 3 sts. (2 sc in next st. 1 sc in in each of next 3 sts) 6 times. Join with sl st in first sc. 35 sc.
6th rnd: Ch 1. 2 hdc blo in same sp as joining sl st. 1 hdc blo in each of next 4 sts. (2 hdc blo in next st. 1 hdc blo in each of next 4 sts) 6 times. Join with sl st in first hdc . 42 hdc blo
7th rnd: Ch 2. 2 sc in same sp as joining sl st. 1 sc in each of next 5 sts. (2 sc in next st. 1 sc in each of next 5 sts) 6 times. Join with sl st in first sc. 49 sc.
8th rnd: Ch 1. 2 hdc blo in same sp as joining sl st. 1 hdc blo in each of next 5 sts. (2 hdc blo in next st. 1 hdc blo in each of next 5 sts) 6 times. Join with sl st in first hdc blo. 56 sc.
9th rnd: Ch 2. 1 sc in same sp as joining sl st. 1 sc in each st around. Join with sl st in first sc. 56 sc.
10th rnd: Ch 1. 1 hdc blo in same sp as joining sl st. hdc blo in each st around. Join with sl st in top of beg st. 56 hdc blo
Repeat rnds 9-10 until you reach the desired height of the beanie. I recommand making the last round in hdc blo.
Finishing the beanie
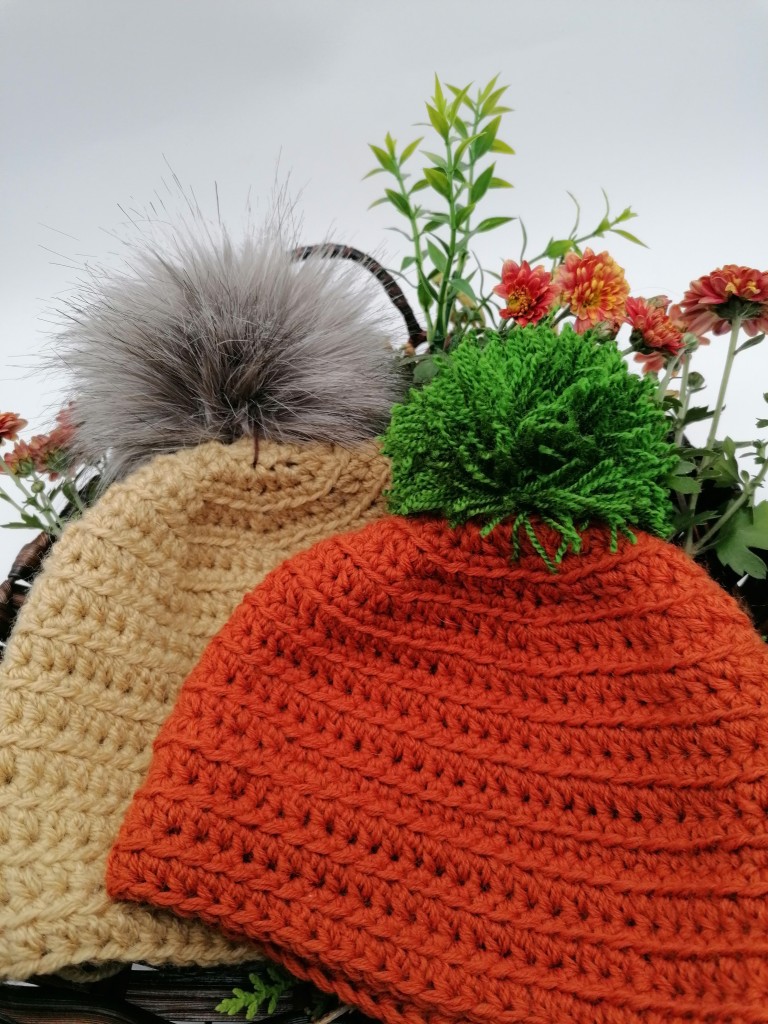
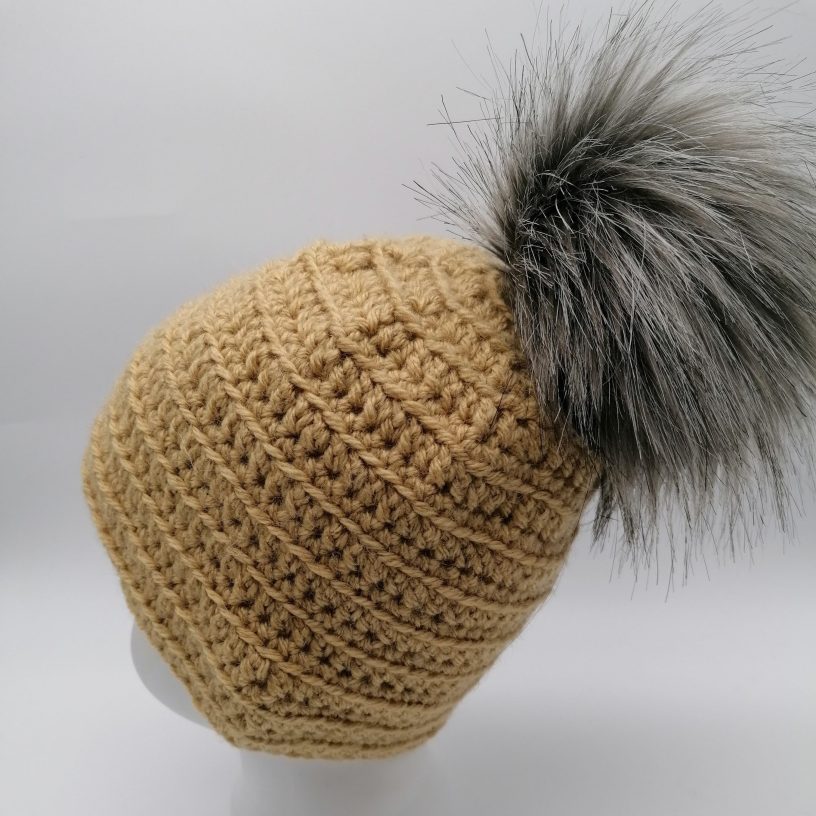
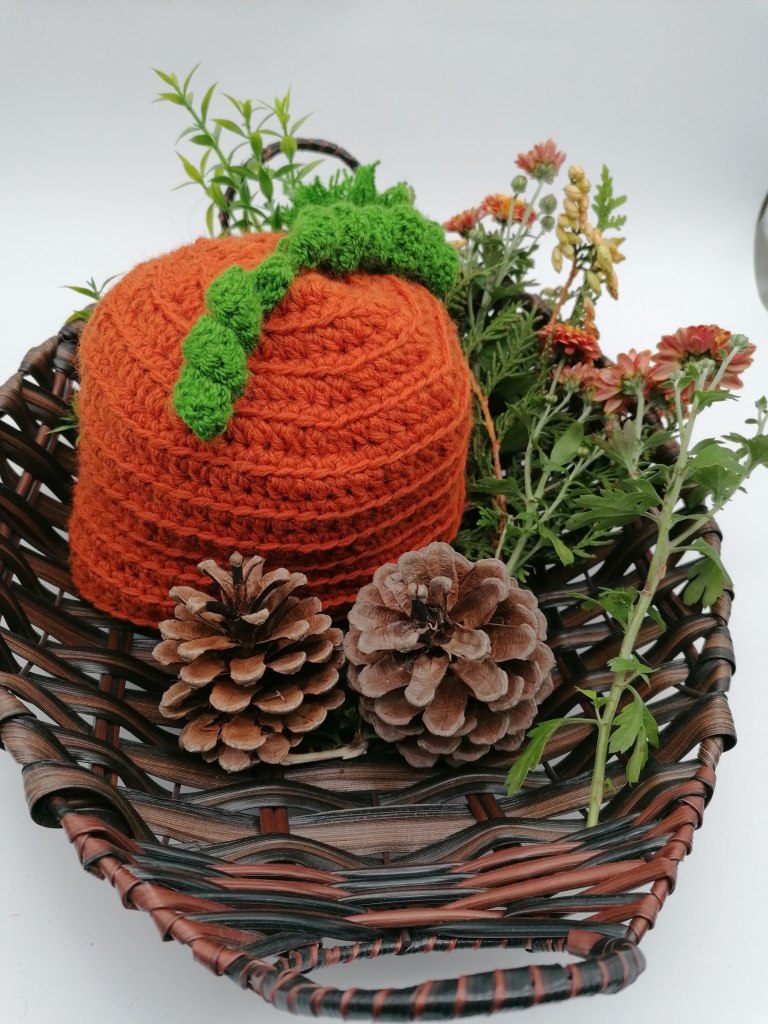
Using yarn needle, weave in yarn tails. Attach a faux fur (or yarn) pompom or a pumpkin vine on the top for decoration (optional).
You may have differnt variations for this easy to make crochet beanie pattern.

Pumpkin Vine Crochet Pattern:
with green yarn ch 20 Row 1: 2 dc st in each ch (40 sc)
(make two) stitch or tie unto the hat
weave in all ends.
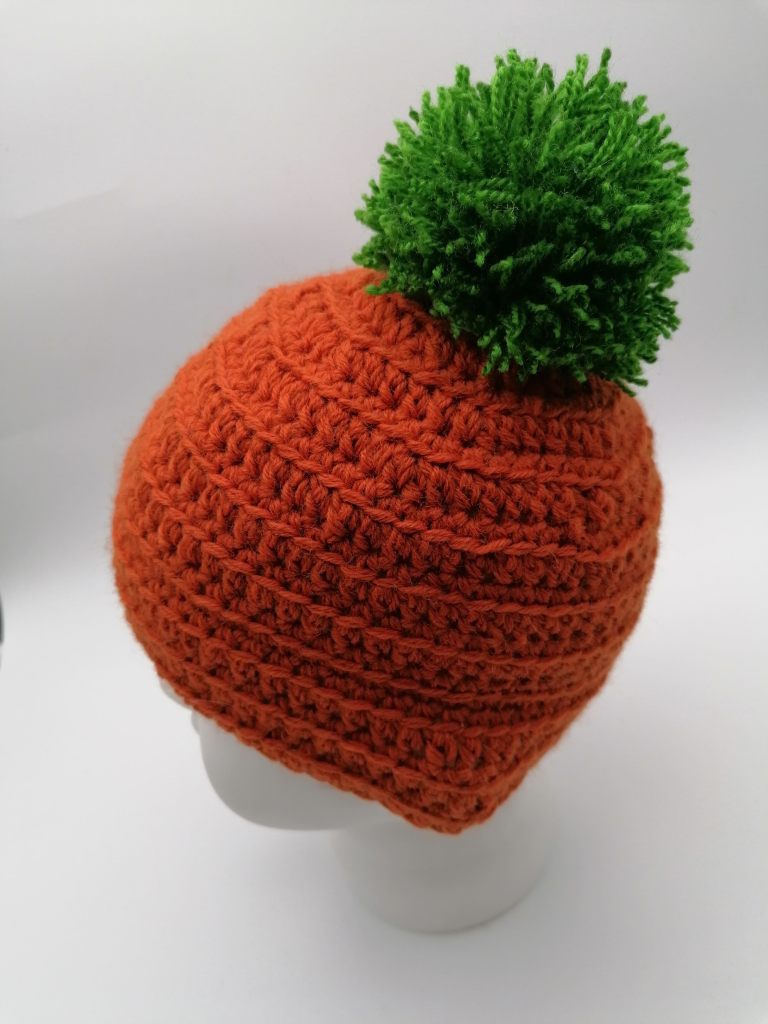
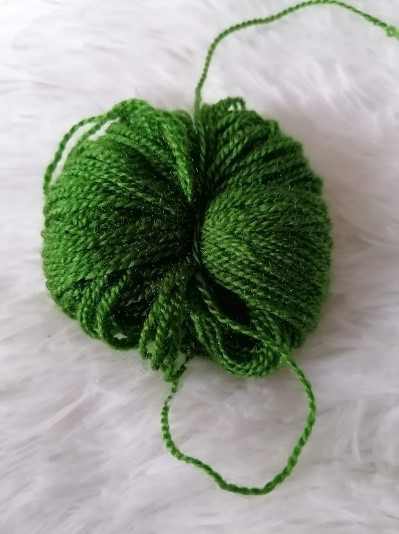
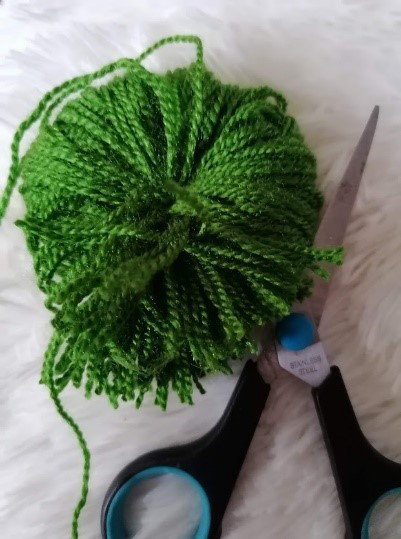
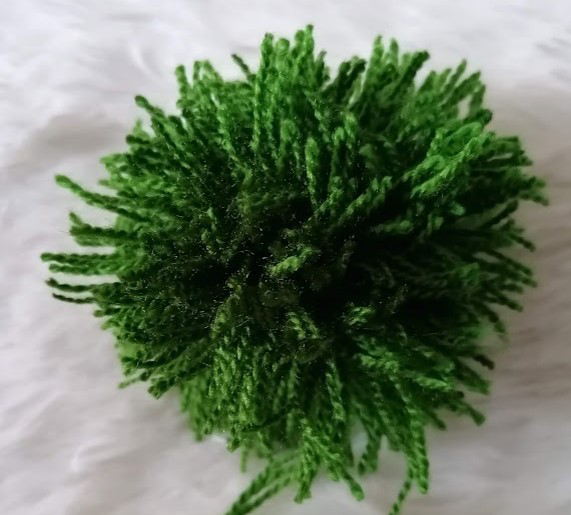
Yarn pompom:
Wind around 4 fingers approx 100 times. Remove from fingers. Tie tightly in center, leaving 2 long ends for attaching to beanie. Cut loops at both ends and trim to smooth round shape. Sew securely to top of hat.
Crochet Pattern for Adult and Adult Large size hat
Adult’s hat: Approx 20″ [51 cm] circumference and 9″ [23 cm] tall
Adult Large’s hat: Approx 24″ [61 cm] circumference and 10″ [25cm] tall
The instructions are written for smallest size. The necessary changes for larger size instructions will are written thus ( ).
Make an adjustable ring, as follows: Wrap yarn into a ring, ensuring that the tail falls behind the working yarn. Grip ring and tail between middle finger and thumb.
Insert hook through center of ring, yarn over (with working yarn) and draw up a loop. Work stitches of first rnd in the ring. After the first rnd of stitches is worked, pull gently on tail to tighten ring.
1st rnd: Chain 1 (Ch 1). 7 (8) single crochet (sc) in ring. Join with slip stitch (sl st) in first sc. You will have 7 (8) sc in this rnd if you are making an adult size hat and 8 sc in this rnd if you are making an Adult Large size hat.
2nd rnd: Ch 1. 2 half double crochet (hdc) in the same sp as joining sl st. 2 hdc in each of next 6 (7) sc. Join with sl st in first hdc. 14 (16) hdc
3rd rnd: Ch 1. 2 sc in same sp as joining sl st. 1 sc in next st. (2 sc in next st. 1 sc in next st) 6 (7) times. Join with sl st in first sc. 21 (24) sc
4th rnd: Ch 1. Hdc blo in same sp as joining sl st. 1 hdc blo in each of next 2 sts. (2 hdc blo in next st. 1 hdc blo in each of next 2 sts) 6 (7) times. Join with sl st in first hdc. 28 (32) hdc blo
5th rnd: Ch 1. 2 sc in same sp as joining sl st. 1 sc in each of next 3 sts. (2 sc in next st. 1 sc in in each of next 3 sts) 6 (7) times. Join with sl st in first sc. 35 (40) sc.
6th rnd: Ch 1. 2 hdc blo in same sp as joining sl st. 1 hdc blo in each of next 4 sts. (2 hdc blo in next st. 1 hdc blo in each of next 4 sts) 6 (7) times. Join with sl st in first hdc. 42 (48) hdc blo
7th rnd: Ch 1. 2 sc in same sp as joining sl st. 1 sc in each of next 5 sts. (2 sc in next st. 1 sc in each of next 5 sts) 6 (7) times. Join with sl st in first sc. 49 (56) sc.
8th rnd: Ch 1. 2 hdc blo in same sp as joining sl st. 1 hdc blo in each of next 6 sts. (2 hdc blo in next st. 1 hdc blo in each of next 5 sts) 6 (7) times. Join with sl st in first hdc blo. 56 (64) sc.
9th rnd: Ch 1. 2 sc in same sp as joining sl st. 1 sc in each of next 7 sts. (2 sc in next st. 1 sc in each of next 5 sts) 6 (7) times. Join with sl st in first sc. 63 (72) sc.
10th rnd: Ch 2. 1 hdc blo in same sp as joining sl st. 1 hdc blo in each st around. Join with sl st in top of beg ch-2 and. 62 (73)
11th rnd: Ch 1. 1 sc in same sp as joining sl st. sc in each st around. Join with sl st in top of beg st.
Repeat rnds 10-11 until you reach the desired height of the beanie. I recommand making the last round in hdc blo.
FINISHING Using yarn needle, weave in yarn tails. Attach a faux fur (or yarn) pompom or a pumpkin vine on the top for decoration (optional).
For More Crochet Patterns You’ll Love, don’t forget to subscribe bellow:
>>> PIN IT FOR LATER