
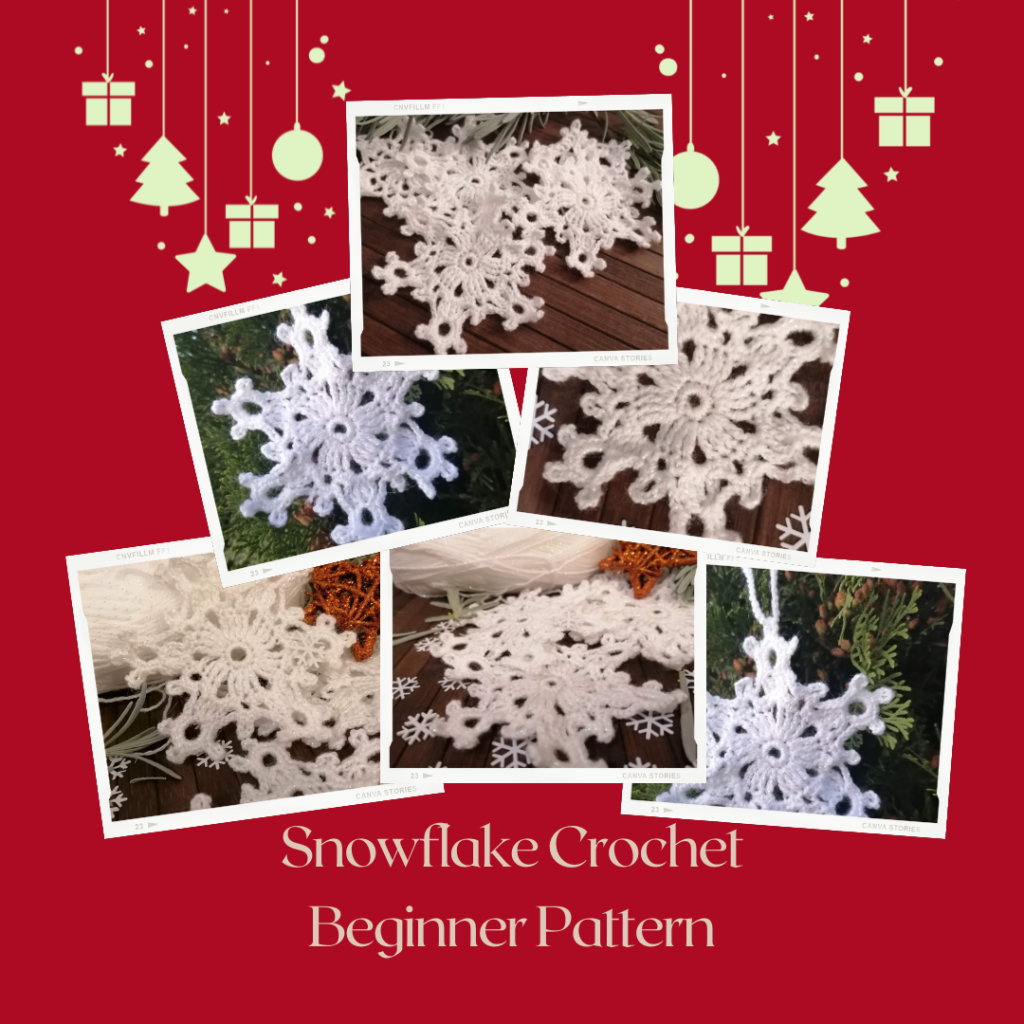
Crocheted snowflakes are a beautiful way to add a handmade touch to a home during the Holidays.
I love crocheting patterns for Christmas house decorations as well as and stocking ornaments in Winter. So, naturally, snowflakes are a must to crochet for me too!
The best yarn to use in crochet snowflake patterns, it is almost always preferred to use a fibers like Cotton or Acrylic Yarn. These types of yarns are simple to find in most craft stores and easy to keep clean since cotton is machine washable, so you’ll be able to keep your snowflakes looking brand new every Holiday season.
This crochet pattern is free to view online below. You also have the option to purchase the ad-free PDF download. This includes extra high quality, step by step, photographs throughout and in-depth tutorial.
A downloadable pdf of this pattern is available on Raverly and Etsy for a small fee.

How To Make Crochet Snowflakes Stiff
Once you make your crocheted snowflakes, and they are finished, you will want them to keep their shape and stay flat.
First, you will want to block your snowflakes, which usually includes a blocking board and pins.
Secondly, you will want to make them keep their shape always. Below you will find a few techniques that may help with this step.
- Sugar-water solution: Boil part sugar, part water equally. Once it cools, dip your crocheted snowflake into it. Do not twist the snowflake, only squeeze gently. Lay flat to dry.
- Liquid Starch: This is a great method to make your crochet snowflakes stiff. Apply with a spray bottle (mix with water) or directly to the doily.
3. Glue & Water Mix: Combine equal parts of glue and water. Soak the crocheted snowflake in it and do not twist. Mod Podge thinned down would work great too! This is an irreversible method, so make sure you shape it the way you like before it dries.
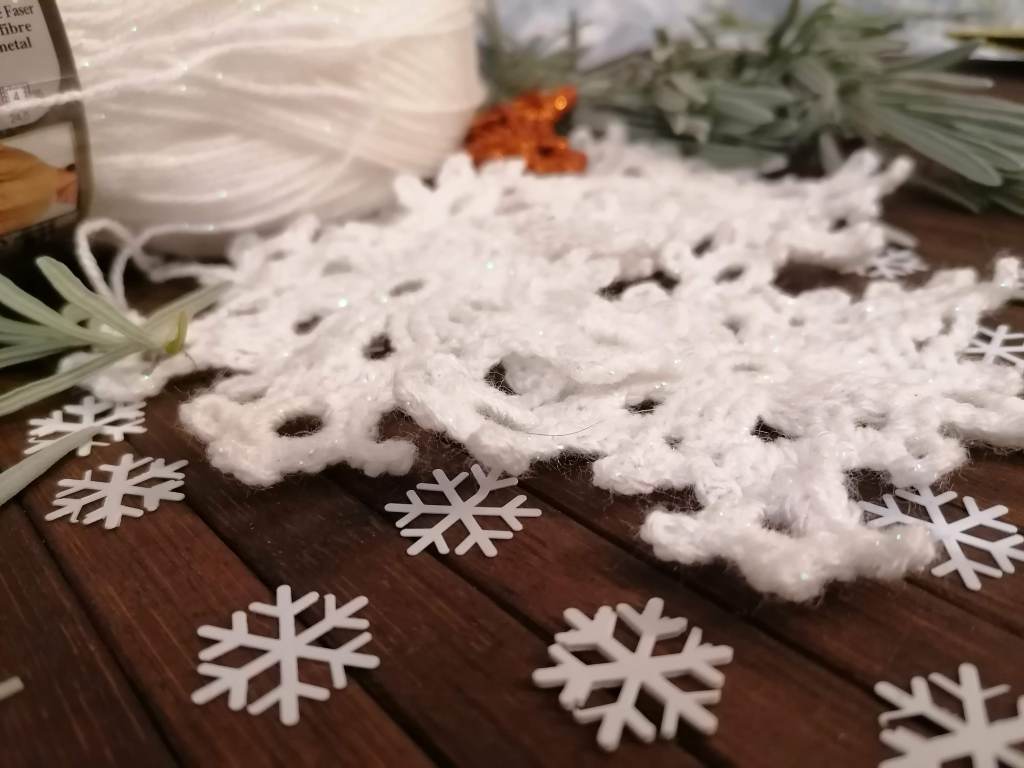
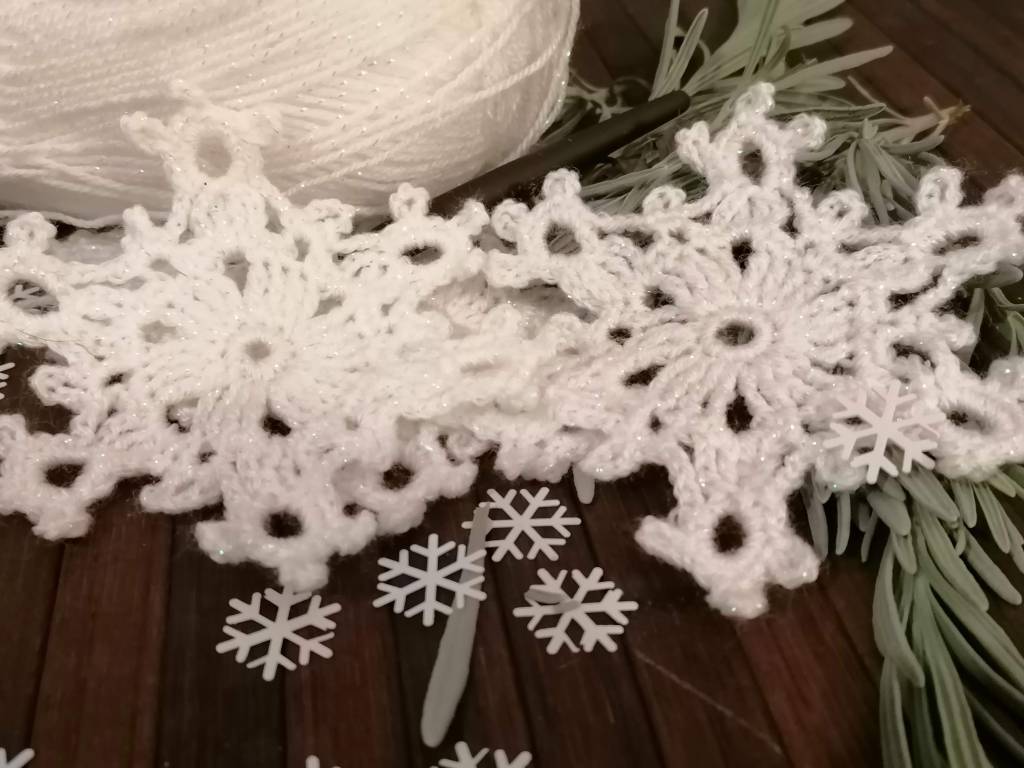
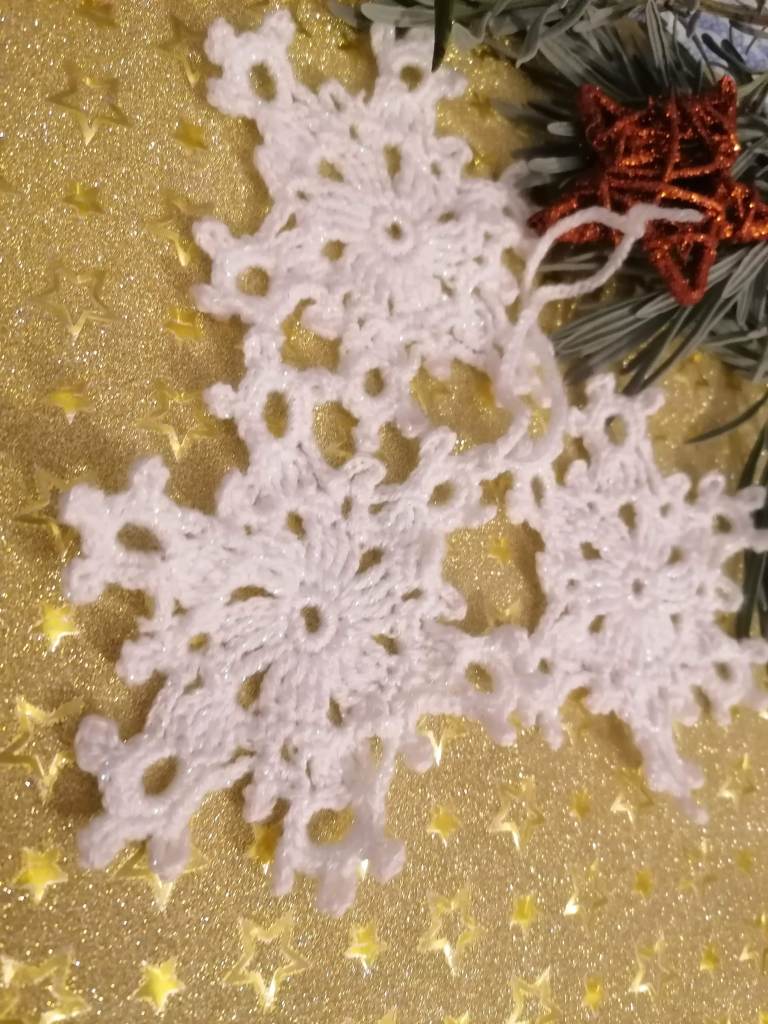
These snowflakes would be great to use as ornaments, garland, and wall hangings. his easy snowflake pattern is perfect to make if you only have a little time to crochet. It uses simple stitches and is a great beginner-friendly project. . It features a six point design and pretty lacy detail. I hope you enjoy this easy to make and gorgeous snowflake pattern!
With just four rounds, this simple snowflake is easy and fast to crochet, and can be made in any size yarn or thread. Make a set for your tree, for a gift, or just for decoration. It works well as an applique too!
Skill Level
Easy – basic stitches worked in the round.
Pattern notes
This pattern is worked in rounds.
A number shown after x, means work the same stitch in the following number of stitches (eg. sc x2 = work a single crochet into each of the next 3 stitches).
Instructions within […] are to be worked into the same stitch/space.
Pattern Repeats: In the crochet instructions you’ll see: rep from ( to ) around. The instructions written within the ( ) parentheses are one full pattern repeat. You are to repeat these around the entire hat. The stitch pattern will repeat evenly so you should not have any stitches remaining at the end of each round.
MATERIALS:
Yarn: Sal Sim by Alize, Fingering, 95% Acrylic, 5% Metallic, 460 meters / 100 grams
Crochet Hook: 2,5 mm
Scissors
Tapestry needle
Terminology Used (US terms):
ch-chain
st-stitch
sl st-slip stitch
sc-single crochet
tc-triple crochet
rnd = round
picot
Gauge: is not important for this pattern
Stitches used:
Treble or Triple Crochet (tc) : yarn over twice, insert the hook in the space/st and crochet the first stitch, you have now four stitches on the hook, crochet the first two stitches together, you have three stitches on the hook, crochet the first two stitches together.You have two stitches on the hook, crochet the first two stitches together again, you have two stitches on the hook, crochet them together and get a triple crochet stitch.
Single crochet (sc): insert the hook in the space/stitich and crochet the first stitch. You have two stitches on the hook and crochet them together, pulling on the thread of both at once. Now you have a single crochet stitch.
Slip Stitch (sl st): insert the hook in the crochet piece, and pull the yarn through both stitches on the hook – the one into which the hook has been inserted and that already on it. Now we have a slip stitch.
Picot: the picot is several chains that are then slip stitched together. In this pattern, picot is written as chain 6 or 8, slip stitch to first chain made or to the base of the chain stitch.
How to make the picot: ch 6(8), sl st to the sc from the base of the ch sts. (Or Slip stitch back into the first chain you made.)

Snow flake pattern:
Make a slip knot and ch 5, sl st to the first ch to form a circle.
Rnd 1: work 12 sc sts in the circle, sl st to the first sc st to join the round.
Rnd 2: ch 4 –counts as a tc, tc st in the same stitch, [2 tc sts] in the next st, (ch 3, [2tc sts], [2tc sts]) repeat from ( to ) 4 more times. Sl st to the 4th ch from the beginning of the round to join the round.
Remember!
- Instructions within […] are to be worked into the same stitch.
- A number shown after x, means work the same stitch in the following number of stitches (eg. sc x2 = work a single crochet into each of the next 3 stitches).
Rnd 3: ch 1, sc in the first tc, ch 3, sc x2, sc in the ch3-space, ch 3, tc in the same space, 8-ch picot, tc in the same space, ch 3, sc in the same space, (sc x2, ch 3, sc x2, sc in the ch3-space, ch 3, tc in the same space, 8-ch picot, tc in the same space, ch 3, sc in the same space) repeat from ( to ) 4 more times. Sl st to the ch 1 to join the round.
Rnd 4: sl st to the ch3-space, ch 1, (2sc in the ch3-space, 6-ch picot, 2 sc in the same space, ch 4, 3sc sts in the ch8-space, 6-ch picot, 3sc sts in the 8-ch space, 6-ch picot, 3sc sts in the 8- ch space, 6-ch picot, 3sc sts in the same 8- ch space, ch 4) ) repeat from ( to ) 4 more times. Sl st to the ch 1 to join the round.
Finishing
Weave in all ends. Block and stiffen as desired. (I personally like to stiffen my snowflake with my hairspray. It sounds crazy, but it works great! Lay them flat, spray them well and allow them to dry.
I hope you enjoy the patterns and have fun making! A downloadable pdf of this pattern is also available on Raverly and Etsy for a small fee. This includes extra high quality, step by step, photographs throughout and in-depth tutorial.
What’s Next?
Pin this post: Save this tutorial to your >>> Pinterest <<< boards so that you can come back to it later.
Leave a comment: We love to hear your feedback. Tell me in the comments below!
Share on Facebook: When you make this project, share it on social media and tag me.
Have questions? Join the Facebook Group! We created this group for you to share pictures, ask questions, and help each other out.
