
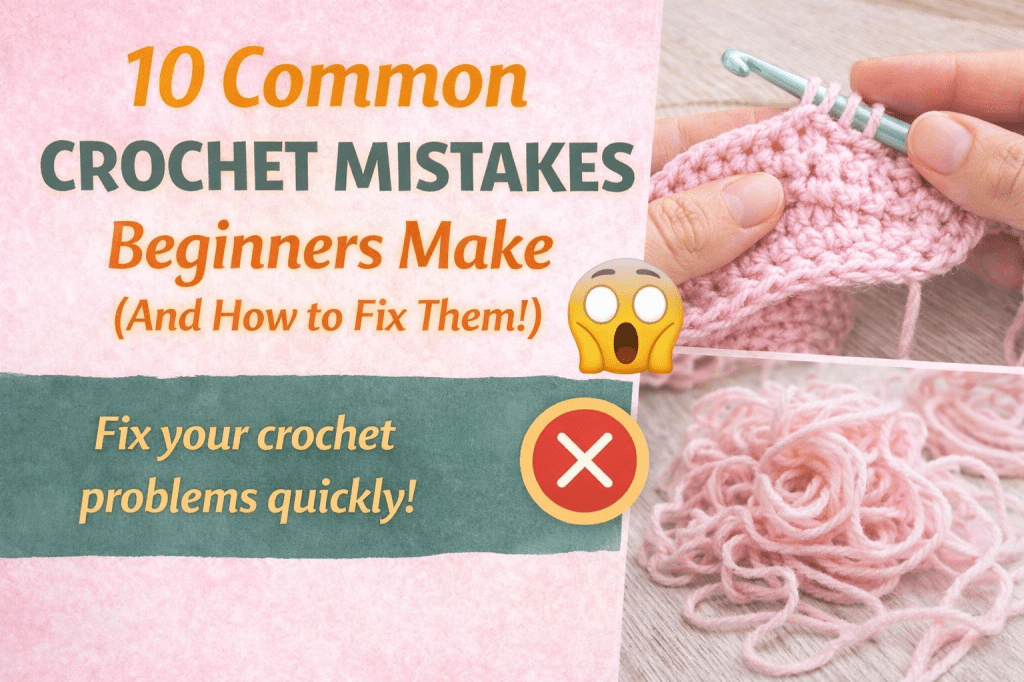
Are you struggling with uneven stitches, curling edges, or projects that don’t look quite right?
If you’re new to crochet, you’re not alone! These are some of the most common crochet mistakes beginners make—and the good news is, they’re easy to fix.
In this guide, you’ll learn exactly what’s going wrong and how to improve your crochet skills fast.
🔍 Why Beginners Make Crochet Mistakes
Crochet is a skill that takes practice. Most mistakes come from:
- Inconsistent tension
- Miscounting stitches
- Using the wrong materials
Once you understand these issues, your crochet will instantly improve.
❌ 1. Using the Wrong Yarn (Beginner Crochet Mistake #1)
One of the biggest mistakes beginner crocheters make is choosing the wrong type of yarn. It might seem like all yarn is the same—but the type you use can make a huge difference in how easy (or frustrating) your project feels.
🔍 Why This Is a Problem
When you’re just starting out, your goal is to clearly see your stitches and understand how they’re formed. The wrong yarn makes this much harder.
Common issues beginners face:
❌ Dark-colored yarn
- Makes it difficult to see individual stitches
- Hard to count stitches accurately
- Leads to mistakes and frustration
❌ Fuzzy or textured yarn (like boucle or velvet)
- Stitches disappear into the fluff
- Nearly impossible to “read” your work
- Very hard to fix mistakes
❌ Splitting yarn
- Hook catches only part of the strand
- Creates uneven stitches
- Slows you down and causes frustration
👉 This often happens with low-quality or loosely twisted yarn.
🧶 How to Choose the Right Yarn (Beginner-Friendly Options)
Starting with the right yarn will make learning crochet so much easier and more enjoyable.
✔ Use worsted weight yarn (#4 medium weight)
- The most recommended yarn for beginners
- Easy to handle and widely available
- Works for most beginner projects
✔ Choose light or medium colors
- Cream, beige, pastel, or light gray are ideal
- Makes stitches easy to see and count
✔ Pick smooth yarn (not fuzzy or textured)
- Look for tightly spun yarn
- Avoid novelty yarns when starting
✔ Try cotton or acrylic yarn
- Cotton: great for potholders and dishcloths
- Acrylic: affordable and beginner-friendly
💡 Pro Tips for Beginners
✨ Start with cheap yarn for practice—you’ll make mistakes (and that’s okay!)
✨ Use yarn with a tight twist so your hook doesn’t split it
✨ If you struggle to see stitches → switch to a lighter color immediately
🚫 Yarn Types to Avoid (At First)
- Velvet yarn
- Chenille yarn
- Eyelash yarn
- Boucle yarn
- Very thin yarn (lace weight)
👉 These are beautiful—but not beginner-friendly
🌸 Final Tip
👉 The best yarn for beginner crochet projects is:
Smooth, medium-weight, and light-colored
This will help you:
✔ See your stitches clearly
✔ Learn faster
✔ Avoid frustration
✔ Build confidence quickly
❌ 2. Inconsistent Tension (Too Tight or Too Loose)
Crochet tension problems are one of the most common struggles for beginners—and honestly, even experienced crocheters deal with it from time to time.
Tension refers to how tightly or loosely you hold your yarn while stitching. If it’s inconsistent, your project can end up looking uneven or distorted.
Signs to watch for:
- Tight stitches:
Your hook is difficult to insert into stitches, your hands feel tense, and your fabric may feel stiff or rigid. - Loose stitches:
Your work looks uneven, with visible gaps between stitches, and the shape may not hold properly.
Why it happens:
- Holding the yarn too tightly due to tension in your hands
- Changing grip or posture while crocheting
- Rushing through stitches without control
How to fix it:
✔ Keep your hands and shoulders relaxed while working
✔ Focus on slow, steady, consistent movements rather than speed
✔ Adjust how you hold your yarn until it feels natural and comfortable
✔ Try a larger hook if your stitches feel too tight
✔ Try a smaller hook if your stitches are too loose
✔ Practice with simple swatches to build muscle memory
💡 Tip: Your tension doesn’t need to match anyone else’s—it just needs to be consistent.
❌ 3. Not Counting Stitches
This is a sneaky mistake that can completely change the shape of your project without you realizing it.
Skipping stitch counting often leads to projects that grow, shrink, or become uneven over time.
Signs to watch for:
- Your piece is getting wider or narrower without intention
- Edges look uneven or slanted
- The pattern isn’t lining up correctly
Why it happens:
- Forgetting to count at the end of each row/round
- Missing the first or last stitch (very common!)
- Losing track while watching TV or multitasking
How to fix it:
✔ Count your stitches at the end of every row or round
✔ Use stitch markers to mark the first and last stitch
✔ Break your counting into smaller sections (e.g., groups of 10)
✔ Double-check stitch counts when following a pattern
❌ 4. Skipping the Turning Chain
If your edges look uneven, slanted, or “pulled in,” there’s a good chance you’re skipping the turning chain—or not using it correctly.
The turning chain is what gives your row the proper height before you start the next row. Without it, your stitches don’t have enough space, and your project starts to warp.
Signs to watch for:
- Crooked or slanted edges
- Project getting narrower as you go
- First stitch of each row looks squished or missing
- Uneven height between rows
Why it happens:
- Forgetting to chain before turning your work
- Not knowing how many chains are needed for each stitch type
- Confusion about whether the turning chain counts as a stitch
How to fix it:
✔ Always add the correct turning chain before starting a new row
- Single crochet (sc) → chain 1
- Half double crochet (hdc) → chain 2
- Double crochet (dc) → chain 2–3 (depends on your tension and pattern)
✔ Be consistent—use the same number of chains throughout your project
✔ Check your pattern to see if the turning chain counts as a stitch
✔ Use a stitch marker in the first stitch of each row to keep edges straight
💡 Tip: If your edges still look uneven, try experimenting:
- If edges are too tight → add an extra chain
- If edges look loose or gappy → reduce by one chain
💡 Tip: Counting may feel annoying at first, but it saves you from having to unravel hours of work later.
❌ 5. Misreading Crochet Patterns
Crochet patterns can feel like a different language when you’re first starting out. They’re often full of abbreviations, symbols, and short instructions that can be confusing if you’re not familiar with them yet.
A small misunderstanding in the pattern can lead to the wrong stitch, the wrong stitch count, or even a project that looks completely different from what you expected.
Common beginner mistakes:
- Confusing abbreviations like sc (single crochet), dc (double crochet), and hdc (half double crochet)
- Missing important pattern instructions like inc (increase), dec (decrease), or rep (repeat)
- Skipping punctuation, parentheses, or brackets that organize the steps
- Not noticing whether the pattern is written in US terms or UK terms
Why it happens:
- Patterns are written in a shortened format to save space
- Many abbreviations look similar at first
- Beginners often jump in without reading the full pattern first
- Some patterns assume you already know basic crochet terminology
Signs you may be misreading the pattern:
- Your stitch count is off early in the project
- The shape doesn’t look like the sample photo
- You keep reaching the end of a row or round too soon
- Instructions feel confusing halfway through
How to fix it:
✔ Read the entire pattern before you begin so you understand the structure
✔ Keep a crochet abbreviation chart nearby for quick reference
✔ Follow the instructions slowly, one step at a time
✔ Highlight or mark each completed row or round
✔ Check whether the pattern uses US or UK crochet terms
✔ Look for notes at the top of the pattern—these often explain special stitches or important details
Helpful example:
If a pattern says:
“Row 1: Ch 16, sc in 2nd ch from hook and across”
This means:
- Chain 16
- Skip the first chain closest to your hook
- Make 1 single crochet into the second chain from the hook
- Continue making single crochet stitches all the way across the row
For beginners, breaking pattern lines into smaller steps like this can make them much easier to understand.
💡 Tip: Don’t try to memorize everything right away. Even experienced crocheters double-check abbreviations and pattern notes.
❌ 6. Using the Wrong Hook Size
Choosing the right hook size is crucial in crochet—it directly affects how your stitches look, feel, and behave. Even if you follow a pattern perfectly, using the wrong hook can completely change the outcome of your project.
What happens if you use the wrong hook:
- Hook too small:
Your stitches become tight and hard to work into, the fabric feels stiff, and your project may turn out smaller than expected. - Hook too large:
Your stitches become loose and floppy, with visible gaps between them, making the fabric look uneven or too stretchy.
Why it matters:
- Affects the size of your finished project
- Impacts the texture and drape (especially for garments)
- Determines how neat and even your stitches look
- Can make crocheting either comfortable or frustrating
Signs you’re using the wrong hook:
- You struggle to insert your hook into stitches
- Your fabric feels too rigid or too flimsy
- Your project size doesn’t match the pattern
- Stitches look uneven or inconsistent
How to fix it:
✔ Always check the yarn label recommendations—they usually suggest a hook size range
✔ Follow the hook size listed in your pattern (if provided)
✔ Make a small test swatch before starting your project
✔ Adjust your hook size based on your tension:
- Tight crocheter → go up a hook size
- Loose crocheter → go down a hook size
💡 Tip: The “right” hook size isn’t always exact—it’s the one that gives you the correct look, feel, and measurements for your project.
❌ 7. Ignoring Gauge (Size Problems!)
Many beginners skip gauge because it feels like an extra, unnecessary step—but it can make a huge difference in how your final project turns out.
Gauge refers to how many stitches and rows you have within a specific measurement (usually 10×10 cm or 4×4 inches). If your gauge doesn’t match the pattern, your project size will be off—even if everything else is done correctly.
What can go wrong:
- Your project turns out too big (loose tension or hook too large)
- Your project turns out too small (tight tension or hook too small)
- Wearables don’t fit properly
- Finished items don’t match the pattern photos
Why it happens:
- Skipping the gauge swatch step
- Assuming all crocheters have the same tension
- Using a different yarn or hook than the pattern recommends
Signs your gauge is off:
- Your measurements don’t match the pattern early on
- A sweater, hat, or sleeve feels too tight or too loose
- Your stitch count is correct, but the size is wrong
How to fix it:
✔ Make a small gauge swatch before starting your project
✔ Measure it carefully (don’t guess!)
✔ Compare your stitch and row count to the pattern
✔ Adjust your hook size if needed:
- Too many stitches → go up a hook size
- Too few stitches → go down a hook size
✔ Re-check your gauge after adjusting to make sure it matches
💡 Tip: You don’t always need gauge for simple items like scarves or blankets—but for wearables, fitted items, and gifts, it’s essential if you want the right size.
❌ 8. Crooked Edges
If your project is starting to look slanted, uneven, or “wavy” along the sides, crooked edges are usually the cause—and it almost always comes down to missed or added stitches.
This is a very common beginner issue, especially when working in rows.
What it looks like:
- Edges that slant inward or outward
- Project getting narrower or wider as you go
- Sides that look uneven instead of straight
- A “triangle” shape forming when it should be rectangular
Why it happens:
- Skipping the last stitch of each row (very common!)
- Accidentally adding an extra stitch at the beginning or end
- Not recognizing where the first and last stitches are
- Inconsistent turning chains
Signs to watch for:
- Your stitch count changes without you realizing
- The edges don’t line up vertically
- Your project shape looks distorted
How to fix it:
✔ Always crochet into the last stitch of each row—don’t skip it
✔ Identify your first and last stitches before you start each row
✔ Use stitch markers on the edges to clearly mark where rows begin and end
✔ Count your stitches regularly to make sure they stay consistent
✔ Pay attention to your turning chain and whether it counts as a stitch
💡 Tip: The last stitch is often hidden and easy to miss—it can look smaller or tucked in. When in doubt, double-check before turning your work.
❌ 9. Not Finishing Projects Properly
You’ve spent hours crocheting your project—but skipping the finishing steps can make it look incomplete or even cause it to fall apart over time.
Finishing is what transforms your work from “homemade” to professional and polished.
What can go wrong:
- Ends start unraveling after a few uses
- Your project looks messy or unfinished
- Edges curl or don’t lay flat
- The overall shape looks uneven
Why it happens:
- Rushing to finish the project
- Not knowing how to properly secure yarn ends
- Skipping blocking because it seems optional
How to fix it:
✔ Weave in ends securely
- Use a yarn needle
- Weave back and forth through stitches (not just one direction)
- Trim neatly without cutting too close
✔ Block your project
- Helps even out stitches
- Improves shape and drape
- Makes your work look more professional
✔ Take your time—finishing is just as important as crocheting
💡 Tip: Blocking can completely transform a project—especially for garments, lace, or anything with shaping.
❌ 10. Giving Up Too Quickly
This is the biggest mistake of all—and the one that stops most beginners from improving.
Crochet is a skill that builds over time. Your first projects might feel awkward or imperfect, but that’s completely normal.
Every stitch you make is practice.
What beginners often experience:
- Frustration when stitches don’t look perfect
- Comparing their work to experienced crocheters
- Wanting to quit after a mistake
The reality:
- Even experienced crocheters started exactly where you are
- Mistakes are part of the learning process
- Progress happens with consistency, not perfection
How to keep going:
✔ Start with easy, beginner-friendly patterns
✔ Practice regularly—even 15–20 minutes a day helps
✔ Focus on improving one skill at a time
✔ Accept mistakes as part of learning (you can always unravel and redo!)
💡 Tip: Your first projects won’t be perfect—but your 5th, 10th, and 20th will be so much better.
🌸 Final Thoughts: How to Improve Your Crochet Fast
If you avoid these common crochet mistakes, you’ll:
✔ Create cleaner, more even stitches
✔ Finish projects faster and with less frustration
✔ Build confidence with every project
✔ Enjoy the process instead of feeling stuck
Crochet gets easier the more you practice—and small improvements add up quickly.
✨ Join me on YouTube Channel at Silvana Crochet Studio to discover more crochet secrets and beautiful patterns!
YouTube Channel: Silvana Crochet Studio
🧶 Try This Easy Beginner Project
Ready to practice your skills?
👉 Check out this Cozy Chevron Earwarmer Crochet Tutorial (Beginner Friendly)
It’s a simple, fun project that helps you practice tension, counting stitches, and clean edges—all in one!
💬 Share Your Experience!
Which crochet mistake have you made the most?
🧶 Try This Easy Beginner Project
Ready to practice your skills?
👉 Check out this Cozy Chevron Earwarmer Crochet Tutorial (Beginner Friendly)
💬 Share Your Experience!
Which crochet mistake have you made the most?
Let me know in the comments—I’d love to help!
Don’t Miss a Stitch!
✨ Join me on YouTube Channel at Silvana Crochet Studio to discover more crochet secrets and beautiful patterns!
➡ Subscribe Now and join our cozy crochet community!
Pin this post: Save this tutorial to your >>>Pinterest <<< boards so that you can come back to it later.
